How to Add Videos to Your Real Estate Website
Whether it’s market updates, community presentations, or team updates, videos can help you connect with your viewers and provide vital information.
This guide will show you:
Which simple video editing apps to use
How to upload your video to YouTube
How to share that video on your real estate website
Step 1
Edit Your Video
Note: This guide assumes you’ve already recorded a video. If you haven’t yet and aren’t sure where to start, check out our video hardware recommendations!
Once you’ve recorded a video, the next step is to edit it! And don’t worry, there are many free and easy-to-use video editing apps to help you get started. Here are some options:
1. iMovie
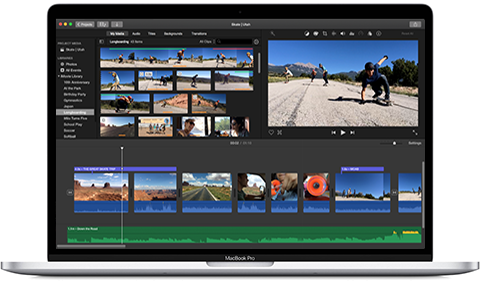
iMovie is a great option if you use a Mac, iPad, or iPhone. It’s free on all Apple devices, and it’s really easy to use! However, it’s not available on non-Apple devices.
2. DaVinci Resolve
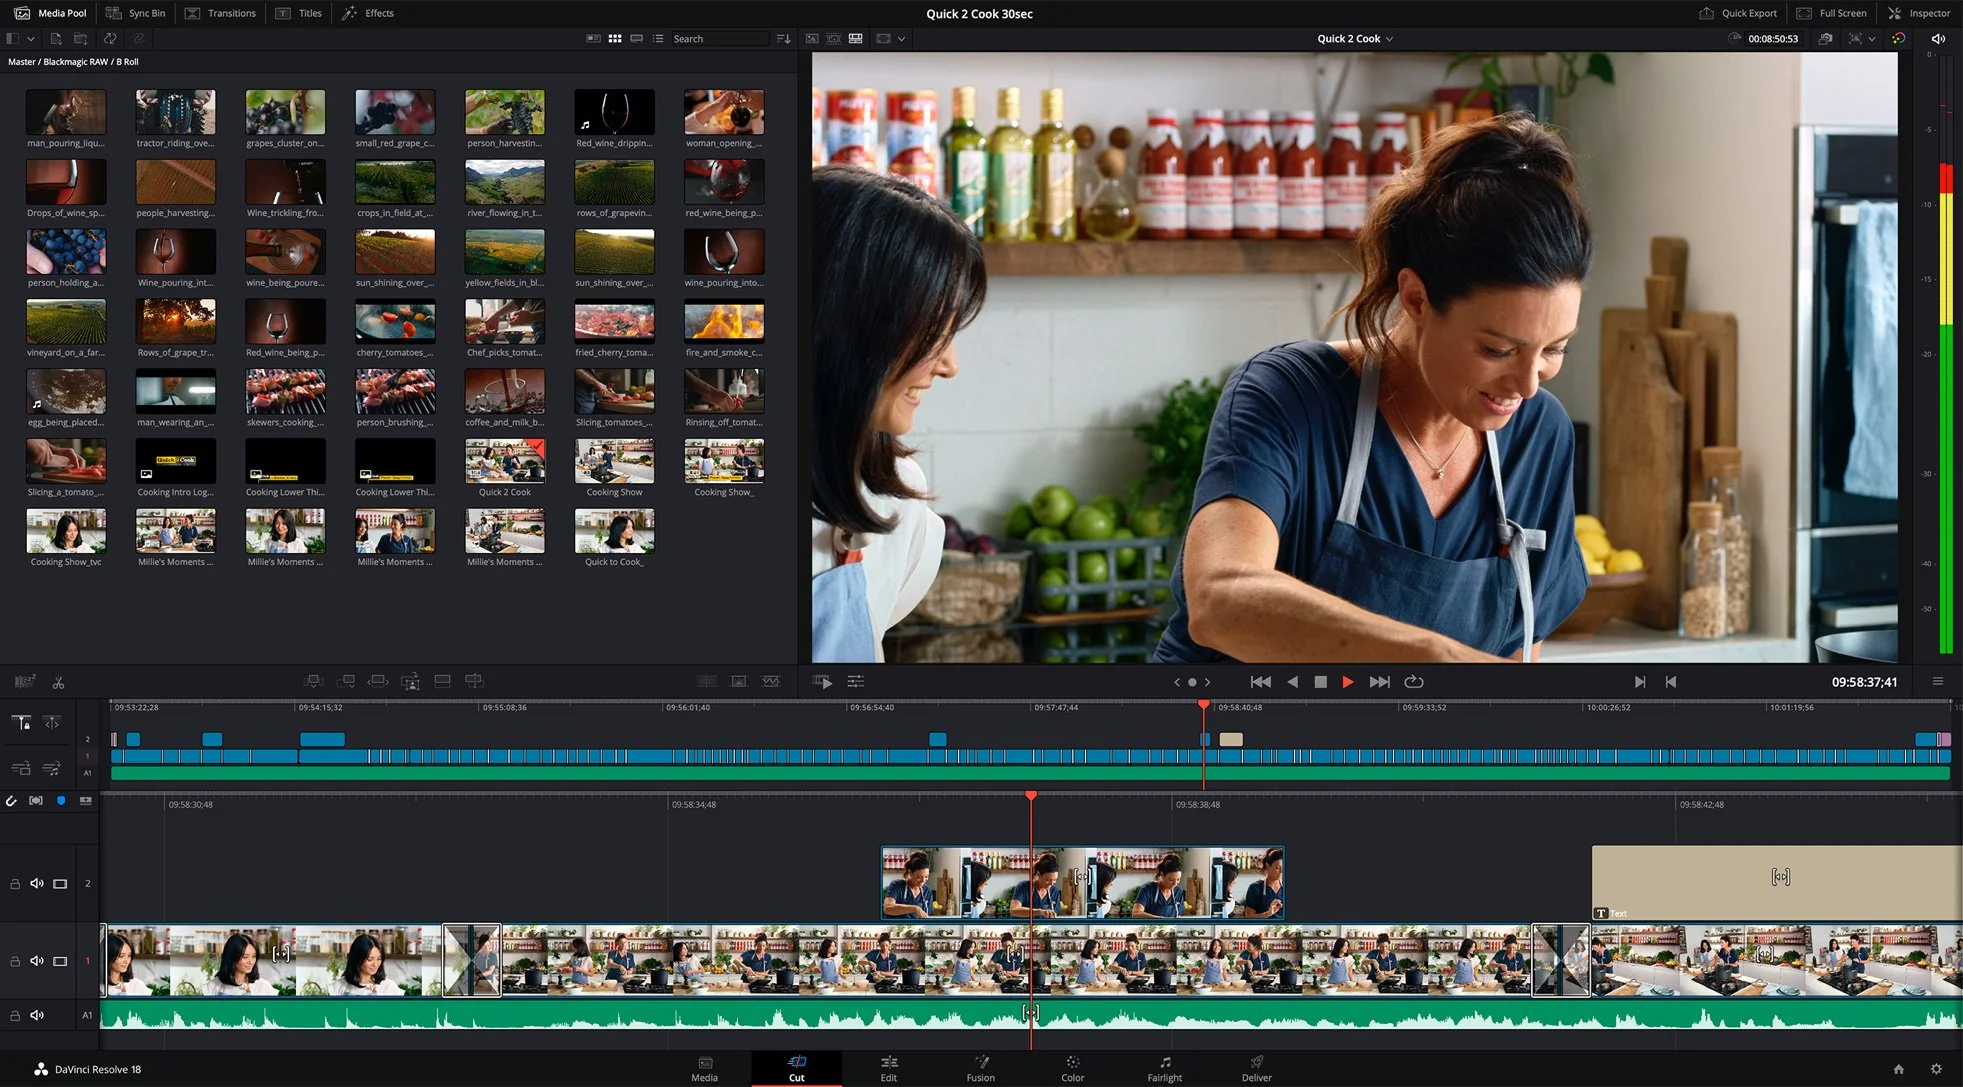
DaVinci Resolve is a free video editing app available on all devices (Mac, Windows, iOS, Android, and more). Use this option if you want an easy-to-use free editor on Windows and Android devices!
3. Premiere Pro Rush
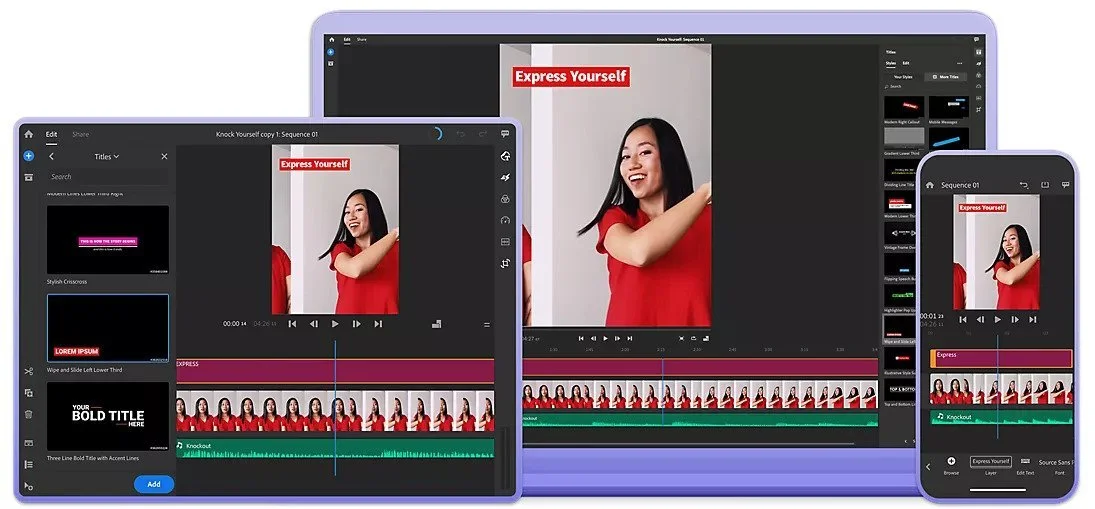
Premiere Pro is the industry standard for professional video editing. While the original app is paid, they do offer an easier-to-use version called Premiere Pro Rush, which is free on mobile!
Note: When you’re finished editing the video, save it as an MP4 file. This will keep the video size small and keep it high-quality!
Step 2
Upload the Video to YouTube
Once you finished editing your video, head over to studio.youtube.com and log in.
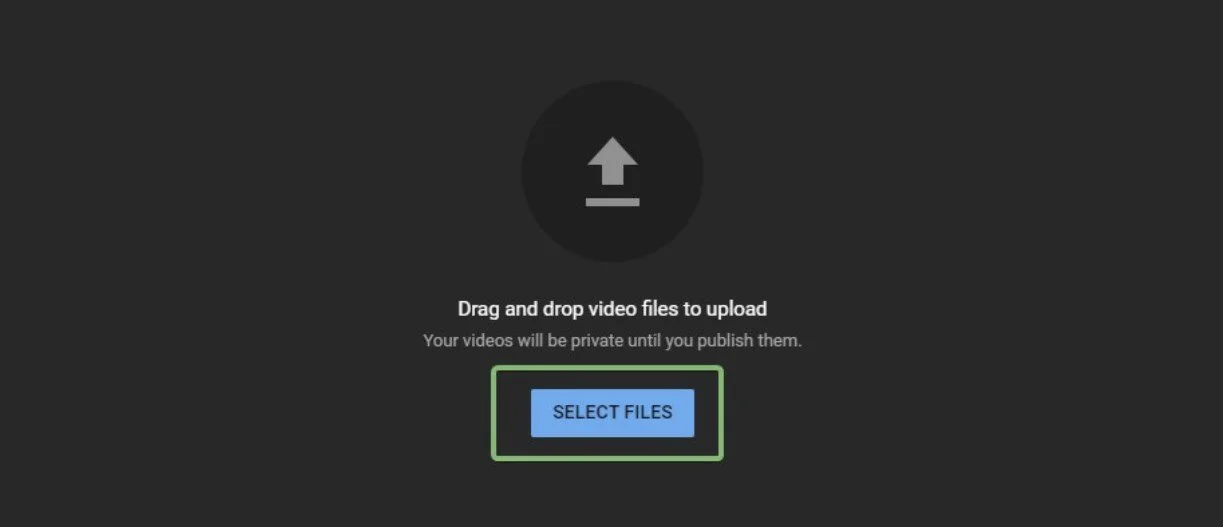
Then click the “CREATE” button in the top-right corner, and choose “Upload videos”

After that, just select the video file you want to upload!
After you select the video you want to share, YouTube will automatically start uploading it. In the meantime, you can give the video a title, a quick description, and choose a thumbnail.
Once you’re happy with your title, description, and thumbnail, just complete any remaining fields and keep clicking “next” in the bottom right until it gives you the option to “save”
Note: Make sure to mark your video as either “Unlisted “ or “Public”!
Public means anyone can find and watch the video, whereas Unlisted means only people who you share the video with can see it.
Step 3
Share the Video on Your Website
Once you’ve uploaded your video, YouTube will give you the “Video Link” for the video. click on that to view the video.
From there, click the “Share” button on the bottom to open the sharing options.

Then click “Embed”
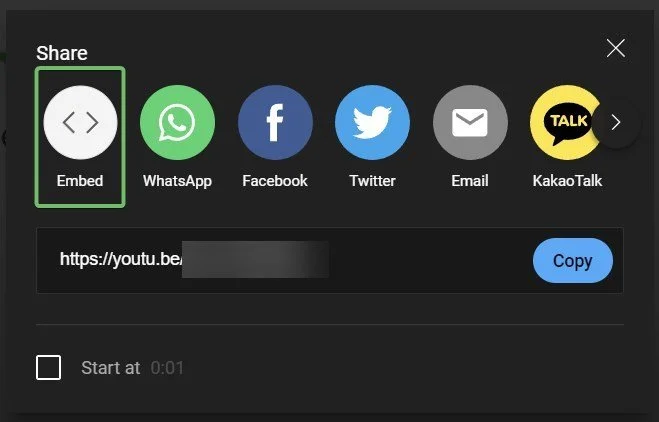
Then click on “Copy” on the bottom-right. That will copy the code in the textbox

Then just paste the code you copied into an HTML widget on your website
Note: If you’re not sure how to edit your website, check out our page-building guides!
-
Content Production
- Jan 10, 2024 How to Use The Featured Listings Widget From Benchmetrics
- Feb 6, 2023 How to Add The Listings Catalog to Your Website
- Oct 28, 2022 Page Building Guides
- Oct 26, 2022 Internal Page Design 4 Walkthrough Guide
- Oct 26, 2022 Internal Page Design 3 Walkthrough Guide
- Oct 26, 2022 Internal Page Design 2 Walkthrough Guide
- Oct 26, 2022 Internal Page Design 1 Walkthrough Guide
- Oct 26, 2022 How to Create and Use Custom Searches
- Oct 20, 2022 How to Add Videos to Your Real Estate Website
- Sep 7, 2022 Content Writing 101
- Jul 13, 2022 Get Your Listings First on Google
- Jul 12, 2022 Real Estate Video Hardware Recommendations
-
Getting Started
- Oct 28, 2022 Page Building Guides
- Oct 5, 2022 CREA DDF Feed Setup Tutorial
- Jul 13, 2022 How To Grant Access To Your Website
- Jul 13, 2022 How To Access Your Agent’s Websites
- Jul 13, 2022 How to Add Benchmetrics to Your Facebook Page
-
Optimization
- Jul 15, 2022 How to Hide Pages on Your Website
- Jul 13, 2022 Optimize Your Website Navigation
-
SEO
- Oct 20, 2022 How to Add Videos to Your Real Estate Website
- Sep 7, 2022 Content Writing 101
- Jul 15, 2022 Get a Custom Domain for Your Website
- Jul 14, 2022 How To Optimize Your Pages For SEO
- Jul 13, 2022 Get Your Listings First on Google
-
Social Media
- Dec 20, 2022 How to Install Facebook Messenger on your Real Estate Website
- Jul 14, 2022 Put Your Listings on Facebook Marketplace
- Jul 13, 2022 Facebook Messenger And Auto Responses Guide